EQMOD Routine
EQMOD Routine
Things you'll need for this tutorial:
- Download EQMOD at The EQMOD Project
- ASCOM Platform
- PC Running WIndows
- A Compatible Mount Controller - See list at EQMOD Project or at the bottom of this tutorial
- A Mount Interface
- Cabling (Such as an EQ-Dir Cable or PC Direct Mode through your hand paddle)
For this tutorial I will be using the Orion Atlas EQ/PRO mount
After all the software is installed you should go into your imaging software are select the mount type under your telescope settings. For the Atlas you will select the EQMOD ASCOM HEQ5/6.
Connect to your Mount through your imaging software
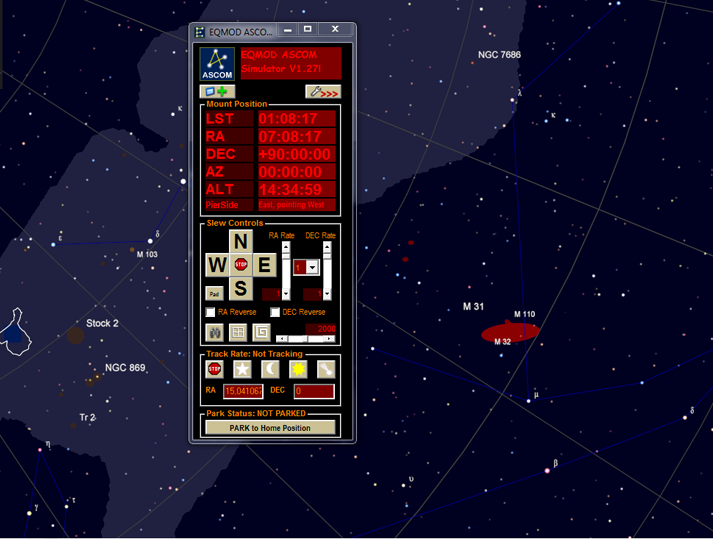
Eqmod will launch
Press the >>> arrow in EQMOD to expand the view

Enter your location coordinates and click set
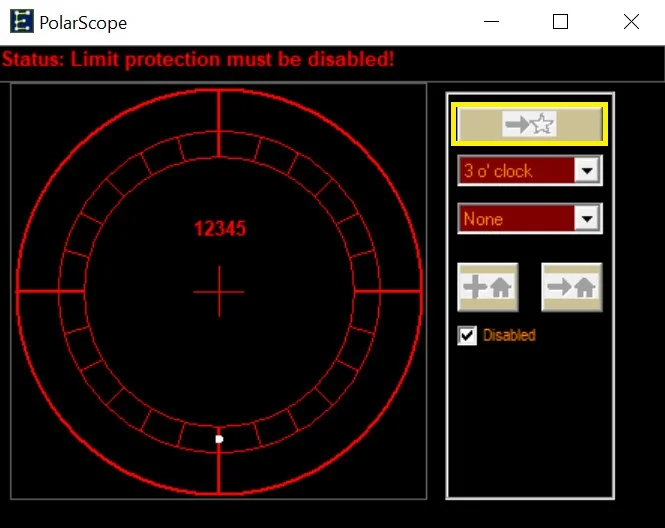
Click on the Polar Clock

Rotate your Dec (scope) so the visual hole in your weight shaft is allowing light to your polar scope and rotate your RA (mount head) to make the small circle at 9 o'clock (Or closest to where Polaris is) {Lock your Dec and RA} Select the time location in the polar window

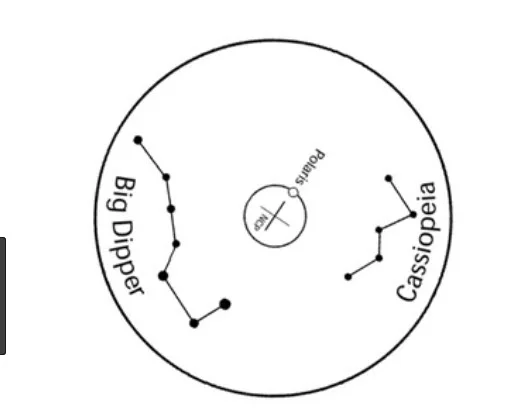
Move Polaris into the small circle using the Altitude and Azimuth adjustment screws

GO back to EQmod and click on the Home+ button and click ok

Click on the Star -> button and wait for the scope to move and the color come back on the Star -> button
Once the color comes back on -> Star button look through the polar scope and move Polaris back into the small circle using the Alt/AZ adjustment screws (DO NOT unlock the RA or DEC)
After its in the small circle click park to home.

Wait for EQMOD to say Parked and then unlock the Dec and RA and move the scope manually to the home position facing Polaris
Once done unpark the scope and click the white star to turn on sidereal tracking.

Now that you have completed your polar alignment routine you can do your star alignment or plate solve routine.